How to Create Custom Wedding Invitations: Simple Steps for a Lasting Impact
Discover how to create custom wedding invitations that impress and remain memorable for your guests. Follow our simple steps to turn your wedding invitations into works of art.
Introduction
A personalized wedding invitation not only announces the important details of your event but also reflects the couple's personality. On this page, we'll show you how to add a personal touch to your invitations, making them memorable.
Step 1: Choose the Theme and Style
The first step in creating a customized invitation is to choose the theme and style. Whether you prefer something classic, modern, bohemian, or minimalist, ensure your choice reflects the atmosphere of your event.
Step 2: Select the Template
On the Pinvite platform, you can choose from a variety of templates that can be customized. Select one that aligns with your theme and start the customization process.
Step 3: Customize the Text
Add the invitation text, including names, date, time, and location of the event. Don't forget to add a personal message that invites people in a warm and friendly manner.
Step 4: Add Graphic Elements
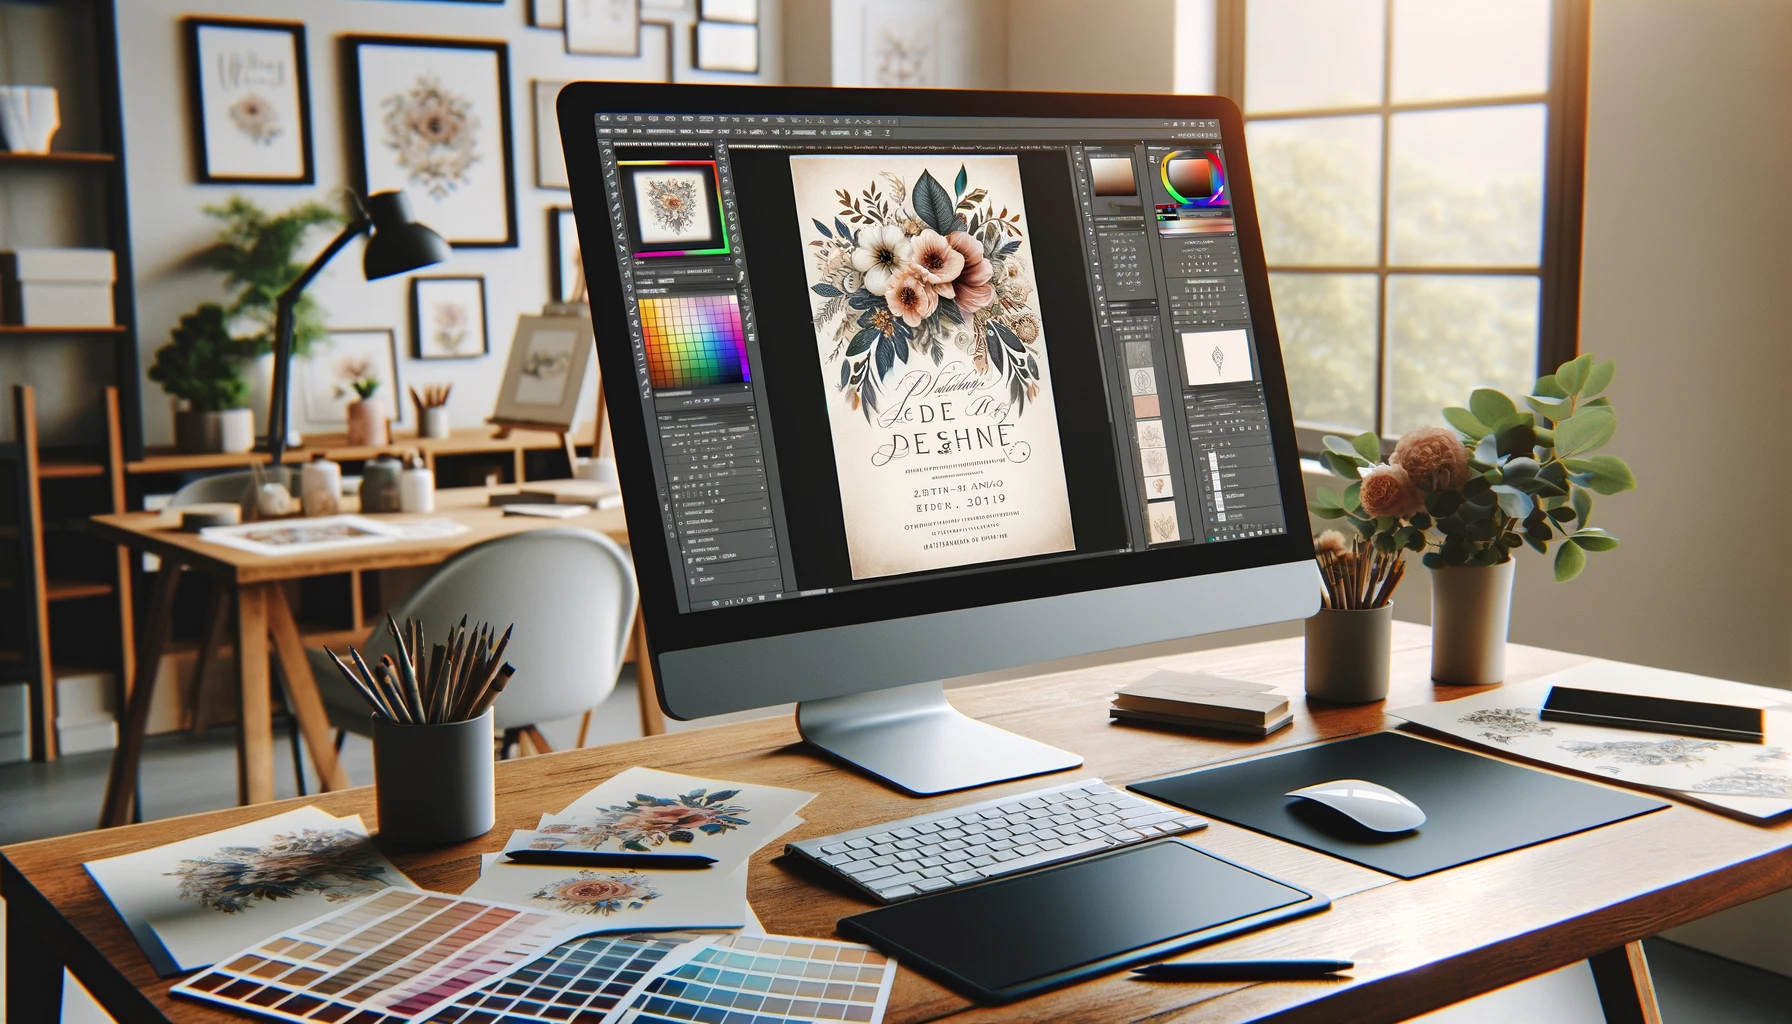
Enhance the invitation with graphic elements or photos. You can add images of the couple, floral elements, or other designs that complement the chosen style.
Step 5: Preview and Send
Once you've completed the design, use the preview function to ensure everything looks perfect. Then, you can send the invitations digitally or print them, depending on your preferences.
Conclusion
Creating a personalized wedding invitation is a simple and enjoyable process with Pinvite. By following these steps, you'll obtain invitations that not only announce your big event but also capture the essence of your relationship.
